Journal
Food Photography with Window Light: A Repeatable Setup
Photograph food with one window, a simple background and controlled bounce. Learn to show texture, manage reflections and work before the dish changes.
Refsee ·
Window light can give food a clear sense of texture and freshness without a large lighting kit. The important decisions are the direction of the light, the camera angle and the amount of reflection coming back into the shadows. Start with one dish and a simple surface so you can see what each adjustment does.
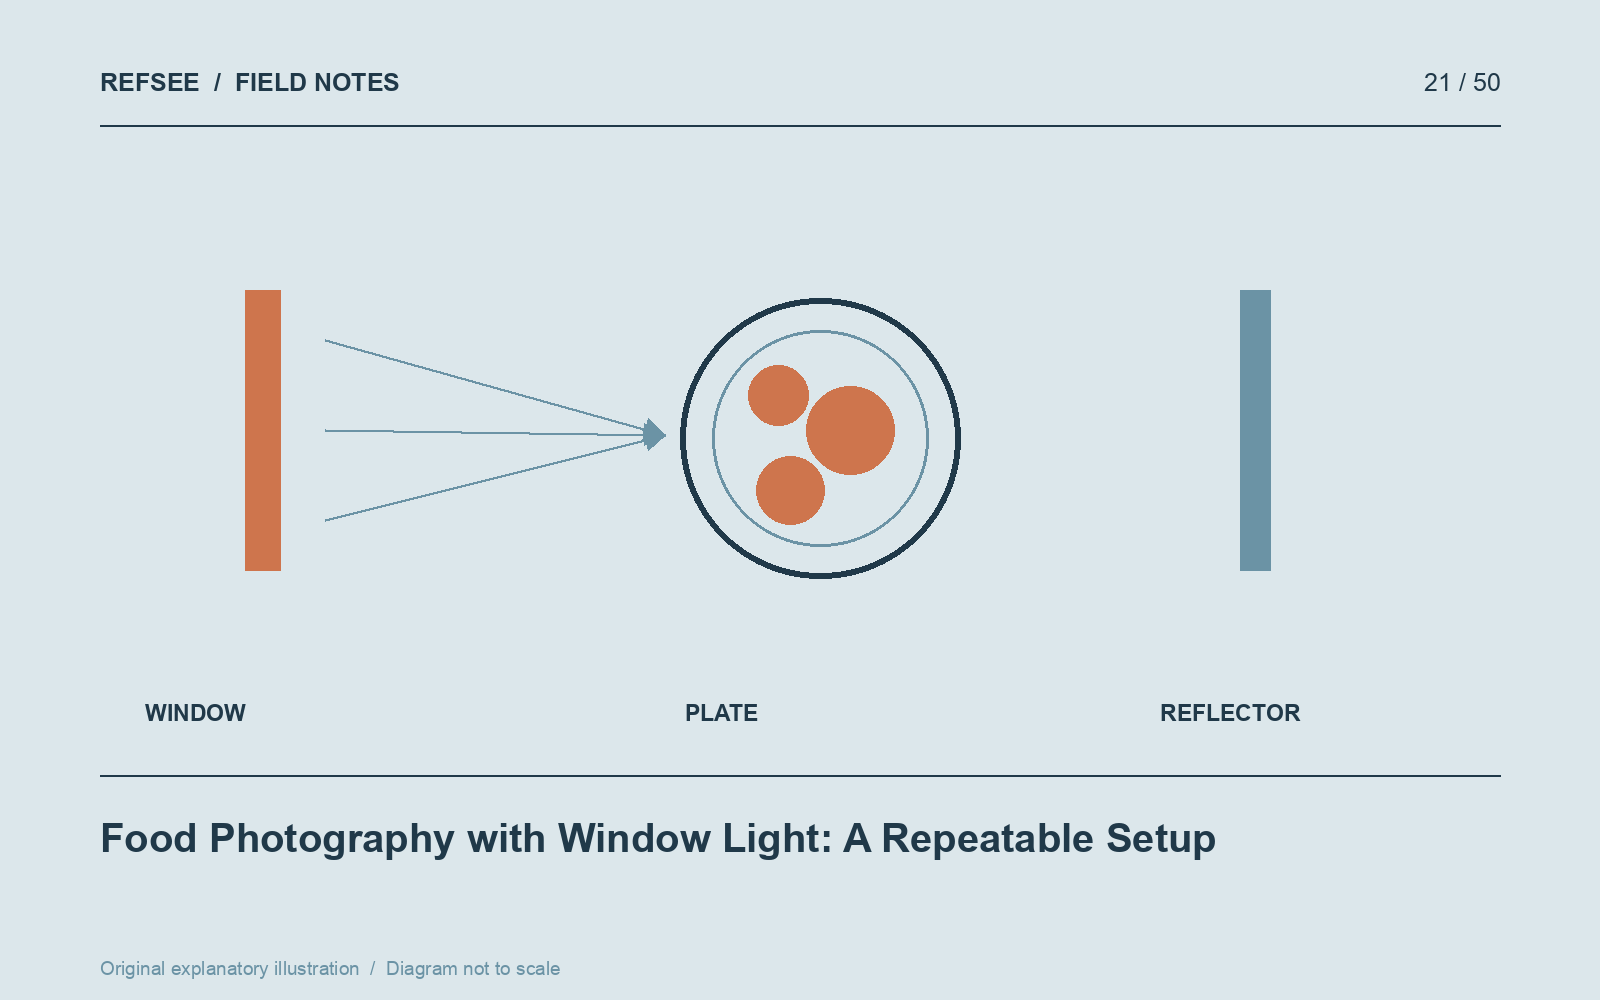
Turn the dish relative to the window
Place the food beside the window and photograph from an angle where the light comes from the side or slightly behind. Side light can reveal crumbs, layers and uneven surfaces. Light from behind can emphasize translucency and glossy edges, but it may leave the front of the dish too dark.
Move a white card into the shadow side and compare the result. Bring it closer for more fill or remove it for deeper contrast. If direct sun creates harsh patches, choose a different time or use appropriate diffusion secured away from heat and food preparation.
Match the camera angle to the structure
A flat arrangement of plates can work well from above. A tall sandwich or layered dessert usually needs a lower viewpoint to reveal its height. Before styling the whole table, test three angles on the main dish and choose the one that communicates what makes it appealing.
Watch the rim of the plate. From some angles it hides the food or becomes a bright dominant shape. Rotate the plate and adjust the portion rather than assuming the initial serving position is the final composition.
Style for the moment you will photograph
Prepare the camera and background before the hero dish arrives. Greens wilt, sauces spread and frozen foods soften. Use a stand-in to set framing and exposure, then replace it with the finished dish when ready.
Keep styling connected to how the food is eaten. A spoon, folded napkin or scattered ingredient should explain the meal or composition. Too many accessories make the image about the table rather than the dish.
Check color and highlights
Avoid mixed room lighting when it produces conflicting color casts. Set a consistent white balance and include a neutral reference frame if color accuracy matters. Examine bright sauce and oil reflections: they can describe moisture, but a large white patch can hide texture.
Take a final close look at crumbs, fingerprints and the edge of the plate. Small cleanup adjustments are easier before the food changes. Save a setup photograph so the next dish can be shot with comparable direction and contrast.