Journal
Negative Fill: Shape Light by Taking Bounce Away
Learn how negative fill deepens shadows with black surfaces, when it helps, and how to test it without confusing contrast with underexposure.
Refsee ·
Negative fill is the use of a dark surface to reduce reflected light reaching a subject. Instead of adding another lamp, you place black fabric, a flag or a board where a bright wall or open room would otherwise provide fill. The result can be a more defined face, a darker edge on a product or stronger separation between planes.
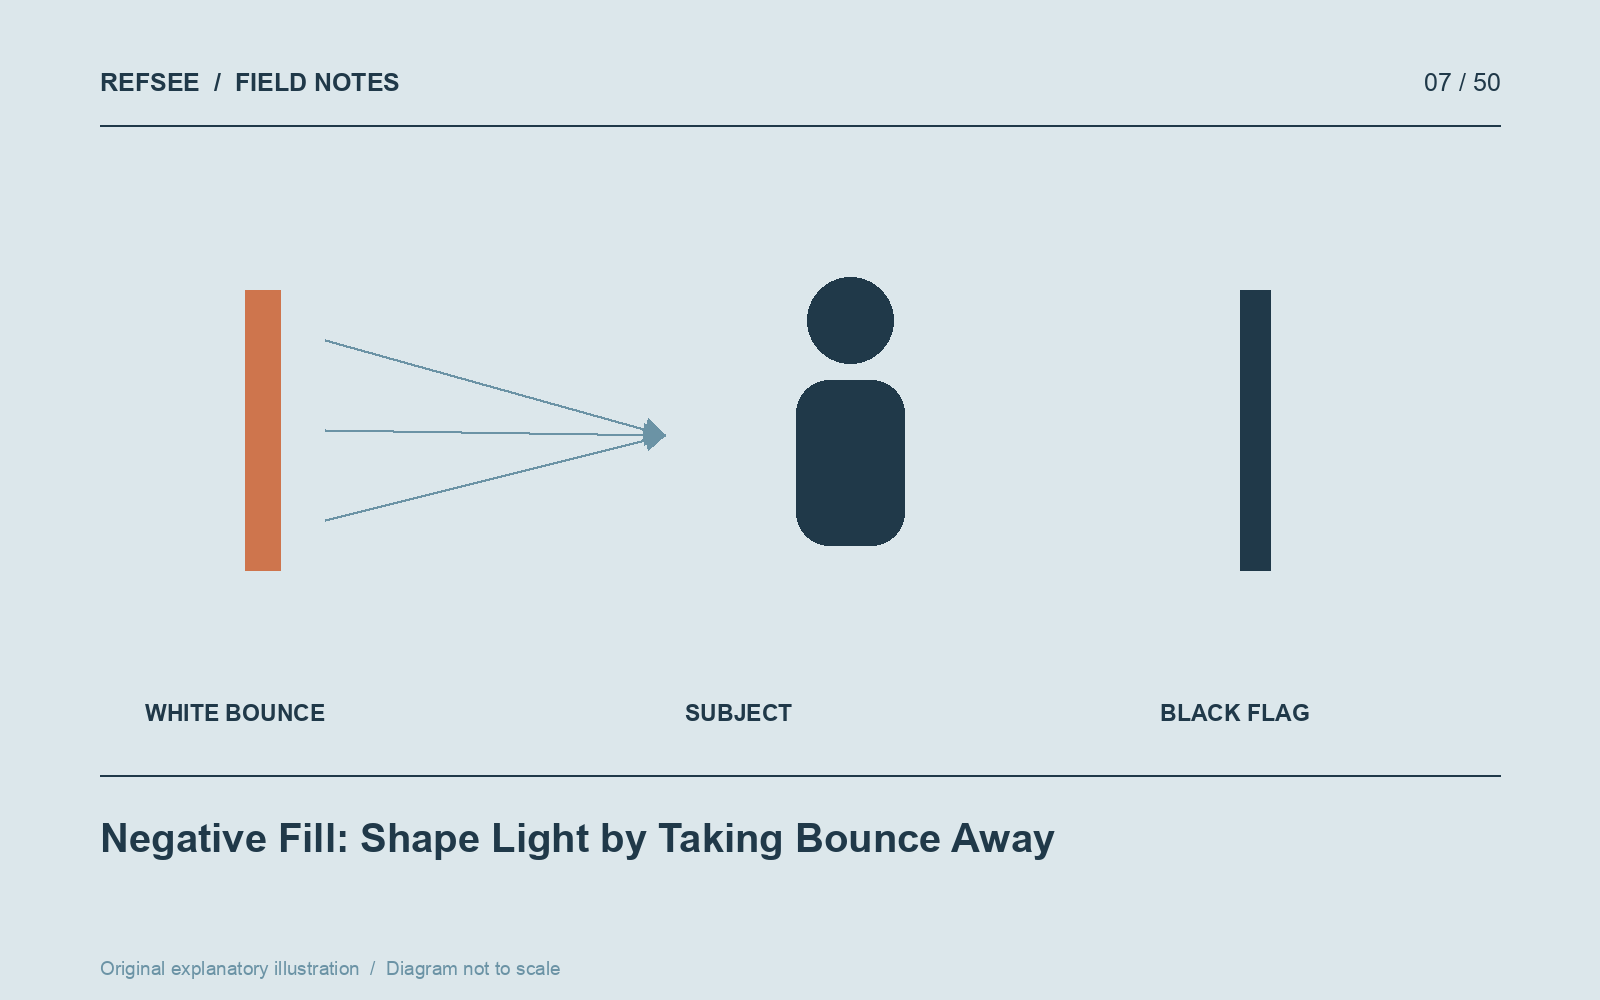
Find the bounce that is flattening the image
Begin with the light already present. A person beside a window may receive a clear key from one side and a large amount of reflected light from a white wall on the other. That reflection can make both sides of the face almost equally bright.
Place a black surface between the subject and the wall, outside the frame. Watch the shadow-side cheek rather than the whole image. If little changes, the surface may be too small, too far away or blocking the wrong reflection.
Distance changes the effect
Move the negative fill closer in small increments. A nearby large surface occupies more of the subject's surrounding field and can remove more bounce. For moving performers, allow enough room for their action and keep stands and fabric securely positioned.
You do not have to make every shadow very dark. Sometimes a slight reduction in fill is enough to reveal cheek shape or make a light-colored product stand apart from its surroundings. The useful amount depends on the scene, skin, material and intended display.
Do not compensate away the result
If you use automatic exposure, the camera may brighten the image when you introduce a black surface. That can obscure the comparison. Lock exposure and white balance during the test. Evaluate highlight detail and shadow detail separately.
Negative fill is not the same as lowering exposure. Lowering exposure darkens everything; negative fill changes the relationship between selected lit and unlit surfaces. It also cannot remove a direct key light that is already striking the subject from the front.
Try a simple comparison
Record three short clips beside a window: room bounce alone, black board on the shadow side, then white reflector in the same position. Keep the camera and subject still. Study the differences in cheek shape, neck shadows and background separation.
Label the reference frames with board size and approximate distance. This turns a subtle technique into a practical decision you can communicate on the next shoot.