Journal
Jewelry Photography: Design the Reflections, Not Just the Light
Photograph jewelry by controlling reflected surfaces, camera angle, depth of field and clean product detail without flattening metal or gemstones.
Refsee ·
Jewelry photography is largely the photography of reflections. Polished metal mirrors its surroundings, and gemstones react differently as the light and camera move. Adding more light can make the image brighter without making the object more attractive. Begin by deciding which bright and dark shapes should appear in the surface.
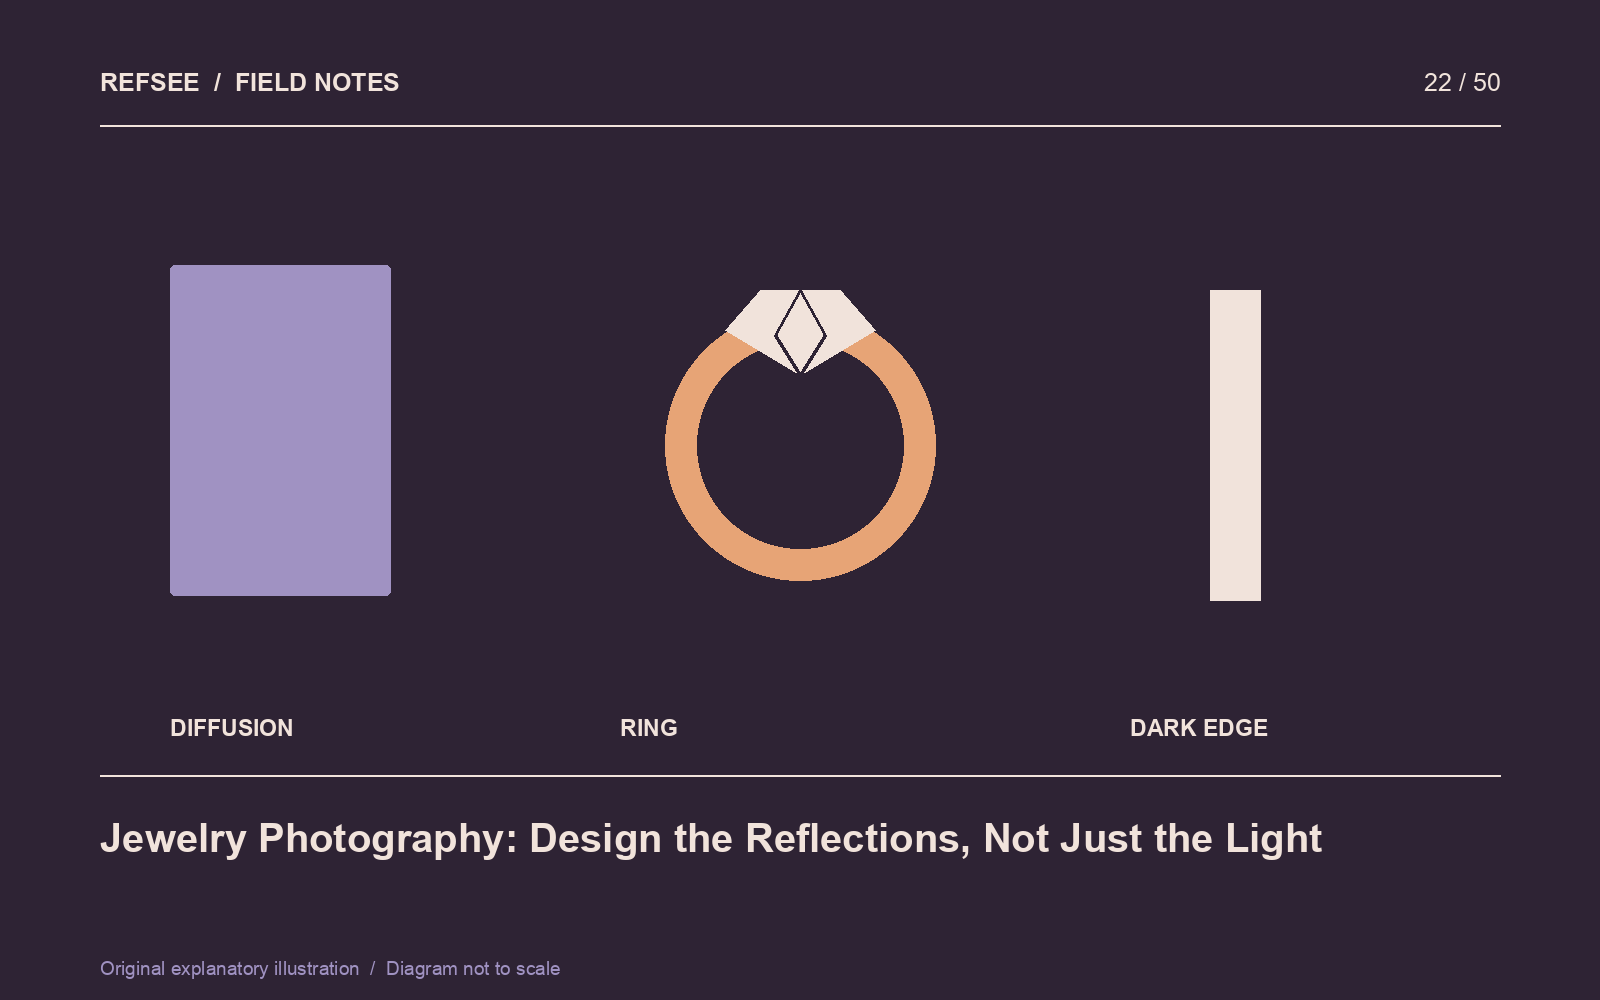
Build a clean reflected environment
Use broad diffusion or white surfaces to create continuous highlights in metal. Then introduce narrow dark cards where the object needs definition. A ring that reflects only white can lose its shape; a controlled dark edge helps describe its curve.
Move cards a little at a time while watching the camera image. Their effect can be much larger than their apparent size suggests. Pay attention to the camera and your own reflection as well as the lights.
Separate metal and stone requirements
Soft broad reflections often flatter polished metal, while a gemstone may benefit from smaller directional highlights that reveal facets. Test those elements separately before combining them. Avoid promising that one setup will make every material look its best.
Rotate the jewelry slightly and compare facet behavior. A small change can transform a dull surface into a readable pattern. Do not rely on excessive sharpening to create detail that was absent in the lighting.
Control focus and scale
At close distances, depth of field can be shallow. Choose which surfaces must be sharp and use a stable camera position. If focus stacking is part of the workflow, keep the object and lighting fixed and capture enough overlapping focus positions for the intended depth.
Inspect a stack for halos and broken edges, especially around prongs, chains and transparent stones. A technically sharp image is not successful if the combination introduces shapes that the product does not have.
Clean before retouching
Handle the item with appropriate care and check for dust, fingerprints and loose fibers at the actual shooting magnification. Work with the owner or product specialist when a material needs a specific cleaning method. Small physical cleanup usually saves more time than repeated digital repair.
Finish with a color and construction check against the real item. Preserve engravings, stone settings and proportions. Retouching should clarify the product image, not quietly change the object a customer expects to receive.