Journal
Rembrandt Lighting: A Practical Portrait Setup
Create Rembrandt lighting by adjusting the key light until a small triangle appears on the shadow-side cheek, then refine contrast and eye light.
Refsee ·
Rembrandt lighting is a portrait pattern in which a small triangle of light remains on the cheek opposite the key light. The nose shadow meets the cheek shadow, but the area below the eye still receives light. It can create a sculpted portrait without requiring a complicated lighting package.
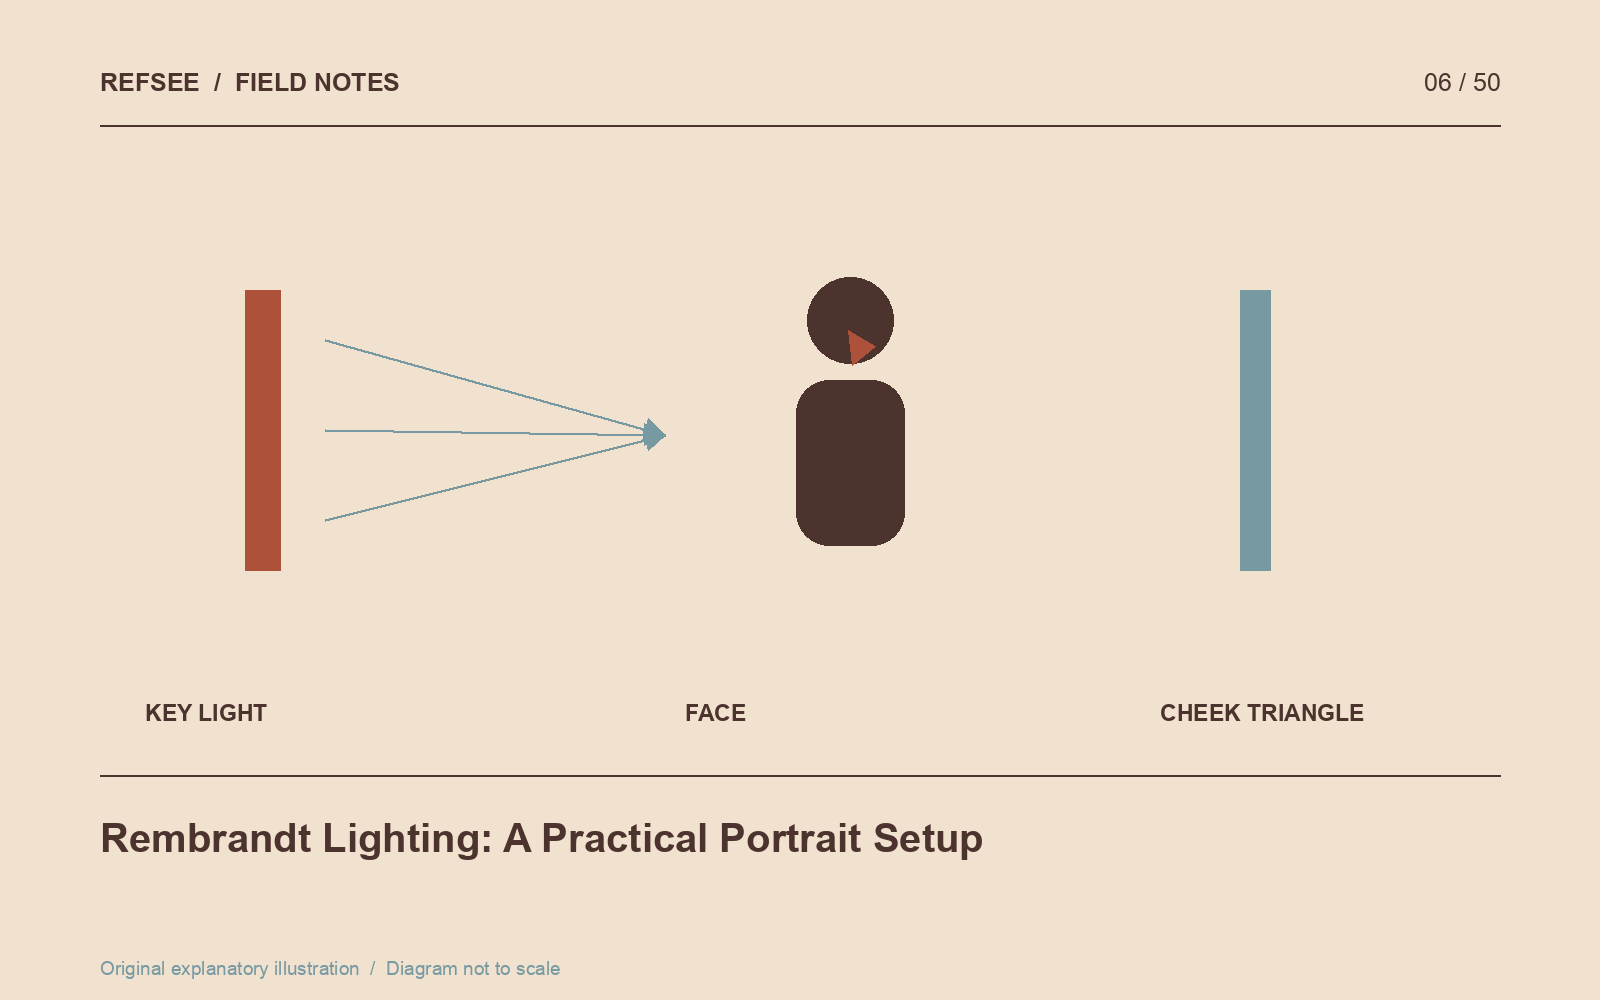
Build the pattern before adjusting the mood
Place one key light to the side of the subject and above eye level. A position roughly forty-five degrees around the face is a reasonable experiment, not a fixed recipe. Facial structure, head rotation, modifier size and distance all change the result.
Ask the subject to hold a comfortable pose. Move the light gradually until the nose shadow connects with the larger shadow on the cheek. If the far cheek becomes completely dark, bring the light slightly toward the camera or adjust the face toward the source.
Watch the eyes
A light placed too high can darken the eye sockets. Lower it until the eyes remain readable while the cheek pattern survives. Check the actual recorded image rather than judging only by the brightness of the room. A small catchlight can make a restrained portrait feel alive.
Do not force the geometric pattern at the expense of the person. A nearly complete triangle with a natural expression is often more successful than textbook lighting on a strained pose.
Choose the shadow density
For a gentler result, place a white reflector on the shadow side and move it closer or farther away. For a deeper shadow, remove nearby bounce or use a black surface to absorb it. Keep the lighting direction visible; too much frontal fill can flatten the face and erase the pattern you built.
Separate softness from contrast. A large source can create soft shadow edges while leaving the unlit cheek quite dark. Source size affects the transition; fill and room reflections affect how deep the shadow becomes.
Run a three-frame test
Photograph the same pose with no reflector, a white reflector and negative fill. Keep exposure and white balance unchanged. Compare the cheek triangle, eye detail and separation from the background. This gives you a useful reference for deciding whether the scene calls for openness, intimacy or tension.
Save a behind-the-scenes frame with the final portrait. A finished image is inspiring; a portrait paired with its light position becomes a repeatable lighting reference.